Preparedness

The Dressmaker

I had an interesting talk with AWA the other day about dressmaking. Why, you ask, were we talking about dressmaking? Well, I was discussing the process of making my 18th century kit for the upcoming season at a local living history museum, which I am a part of. I had to order a pattern for a short gown that I’m making, because my skill level isn’t high enough to fake it for this type of garment. The pattern is somewhat complex, and based off an extant short gown that was disassembled a number of years ago and resides in a museum (in Boston, if I remember correctly, but I’m guessing).

AWA wanted to know why the pattern was considered so complex. After all, garments at the time really weren’t all that fancy, at least for working class women like myself. I explained that, in the 18th century in America (and likely in Europe, though I haven’t looked into it), there were no patterns. Women would simply sew their own clothing. Most women, even of the poorer sort, would have hired a mantua-maker, or dressmaker, to make an outfit for them, from which other items might be sized. A mantua-maker was a traveling dressmaker, who specialized in working with your body in particular. If you’re interested in seeing the process in action, there’s a great video on YouTube. Basically, she would drape your fabric over you, sketch out the pattern pieces for your body, cut them, and then sew them. Sometimes the customer would help with the sewing, and sometimes she’d just pay for the mantua-maker to do it.

The skill level required to draft a dress for someone with nothing more than draping fabric and chalk is huge. This goes back to my article on words, and how the meaning of them changes over time. At one time, someone who could make a dress, a mantua-maker, was considered a highly skilled, sought after person. They were well paid, well trained, and knowledgeable. Today, we say “dressmaker” as if the person is doing something quaint. People don’t make their own clothing, and those of us who do are looked at oddly. We’re just dressmakers, or seamstresses. We’re not considered skilled workmen.

Read More

Whose Job Is It, Anyhow?

Now, I realize not everyone is able to have a house in the boonies with a wood stove. I am smug enough to think that anyone who considers the government to be in decline, and the cities to be largely unlivable, OUGHT to live in the boonies, regardless of their other foibles. What do I mean by that? Well, let me explain.

Years ago, I lived in the big suburbs of a big city. I was okay with it, though I wouldn’t go so far as to say I liked it. Then I was given a nudge by the gods… I lost my job and my home in one fell swoop, and was forced to make a jump. In doing so, I miraculously landed not only on my feet, but in a much better situation overall. I wish I’d made that jump years earlier. Regardless, I found myself in a wonderful situation, living a life I had previously only dreamed of.

These days, I live in a sprawling home on the suburban/rural edge of a very small town. We only have an acre or so of land, but we back onto a multi-acre piece that is private and beautiful, and more importantly is not posted. This means we can hunt there, we can camp, we can play, and our kids can run amok. It’s been wonderful. I have gardens, sometimes more fruitful than other times. I have firewood galore, just from fallen trees out back (which we have permission to harvest). There’s potable water close by, and I have the means to cart it and filter it to make it safe (if it was unsafe). In some years, there’s a stream out back, if you know where to look, which isn’t huge but is big enough and is ground water and therefore pretty likely to be clean.

Our power went out for a day. Previously we’ve lost power for longer than that, but this time it was just a day. We knew it was likely to happen, though it hit us much earlier than I’d thought. Apparently a local transformer blew up and started a two alarm fire. Whee… exciting times. That’s aside from the usual branches taking down lines. When we get icy rain like we did, it’s just one of those things that happens. It’s the price of living in a place that has shade and privacy and lush, green beauty all around.

I’ve heard people say that the trees ought to be taken down. Why? To protect the power lines, apparently. While I sympathize with power lines being downed, that’s not a reason to be defacing my property. Your (the faceless mass of “your” here) desire to force me to address things that may happen will not cause me to do so. As an example, neighbors noted that one of our trees is dead. It’s standing firewood right now. Unfortunately, it’s not in a place that’s easy to bring it down, so we’ve left it alone. It’s not rotting at present, and it’s not causing any issues. It doesn’t sway nearly as much as the other trees. And unlike our neighbor’s trees, it hasn’t fallen and caused damage to a house. Regardless, we have insurance to cover just such emergencies. It’s our tree, and our choice. Our neighbors can “want” us to take it down all they like, just like the “want” us to not have firearms, or enjoy our firepit, or raise chickens, or any of the other fun things we do. They can “want” as much as they like. What they can’t do is compel.

When we get to the point of compelling people to do things, I have a problem. “Public safety” is the first thing that gun grabbers usually mention. It would be so much SAFER if the guns were just not in public possession. Leaving aside the fact that I disagree with that to the extreme, the thing is, I don’t care. My concern is for MY family. My firearms protect MY people. Going a bit further, my woodstove heats MY family, my food feeds us. Public safety only goes so far.

When I hear that I ought to have all my beautiful privacy trees cut down for “public safety,” I start squinting my eyes and looking sideways at people. No thank you. I said NO THANK YOU sir. Giving up my trees is one step toward giving up my other freedoms.

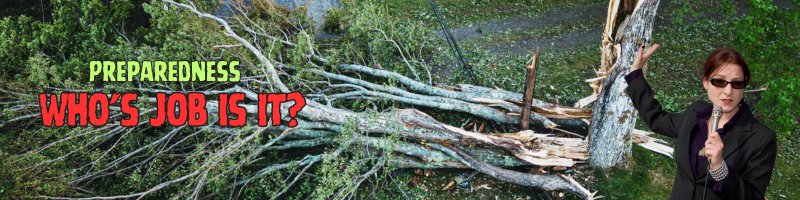
All that leads me to what I asked in the title: Whose job is it, anyhow?

Whose job is it to protect my family? Ours. Whose job is it to feed my family? Ours. Whose job is it to keep my family sheltered and warm? Ours. It is not the government’s job. The moment you give ground in that direction, you may as well slide all the way down the leftist hill.

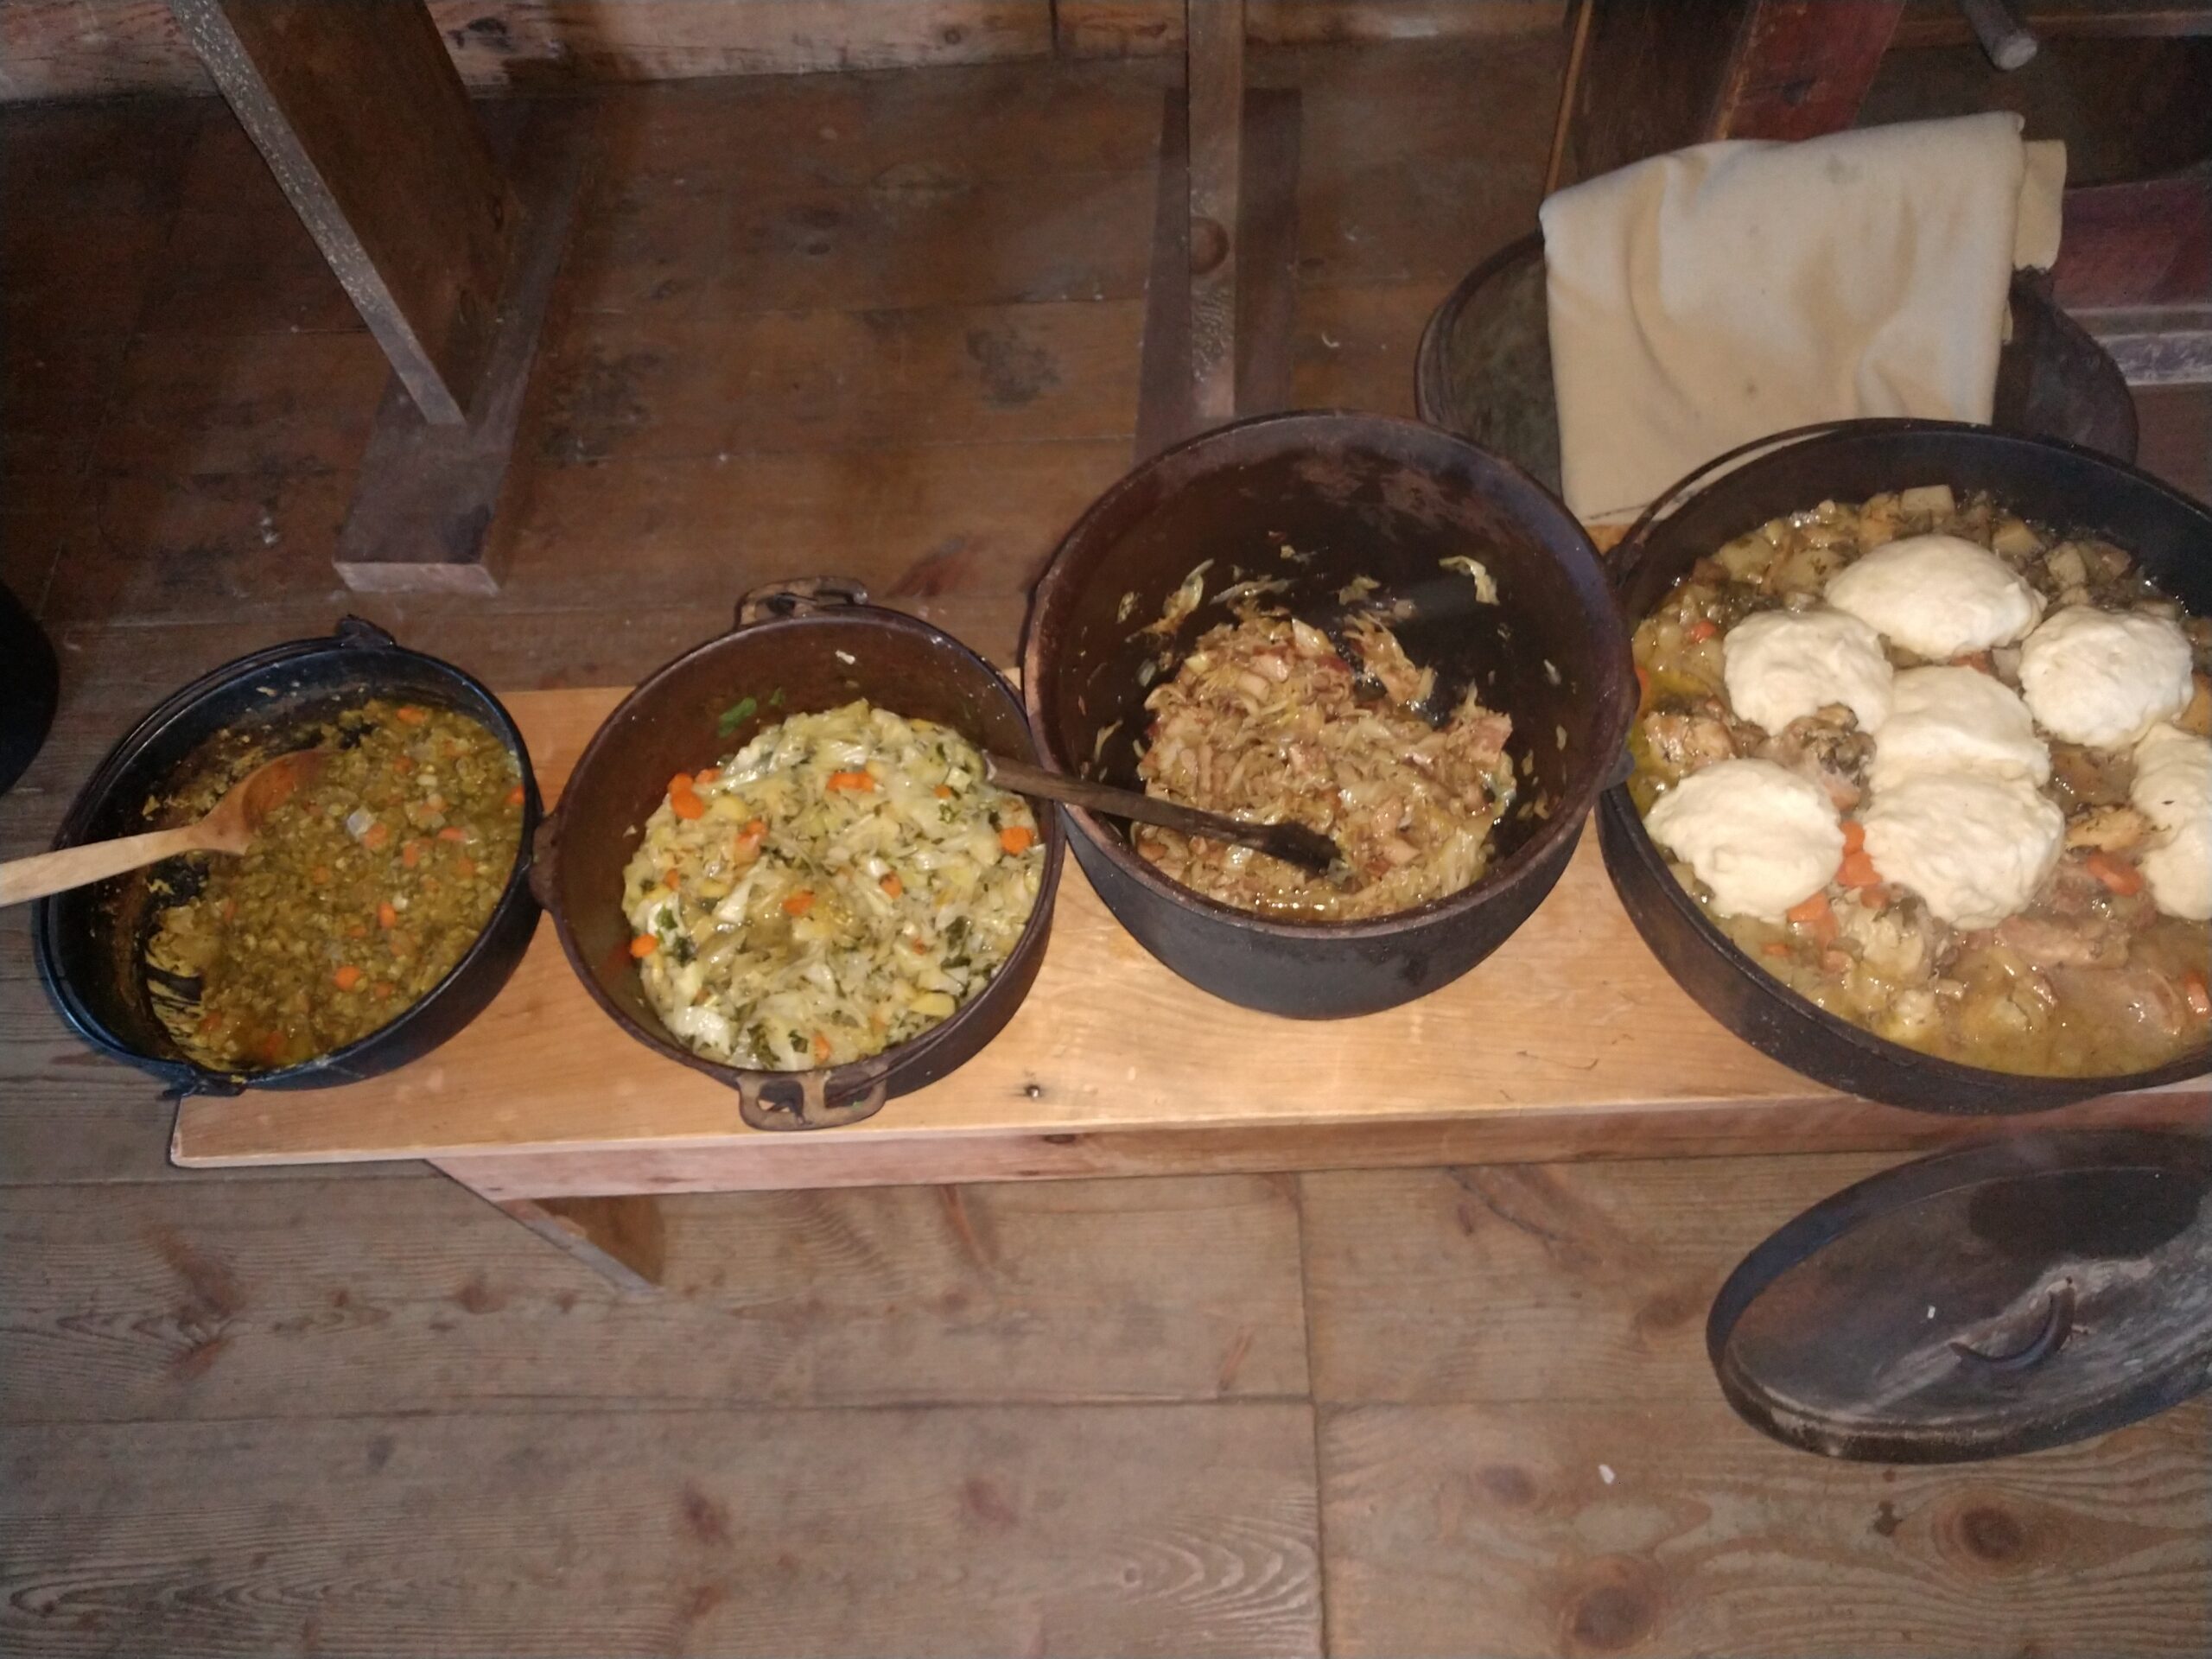
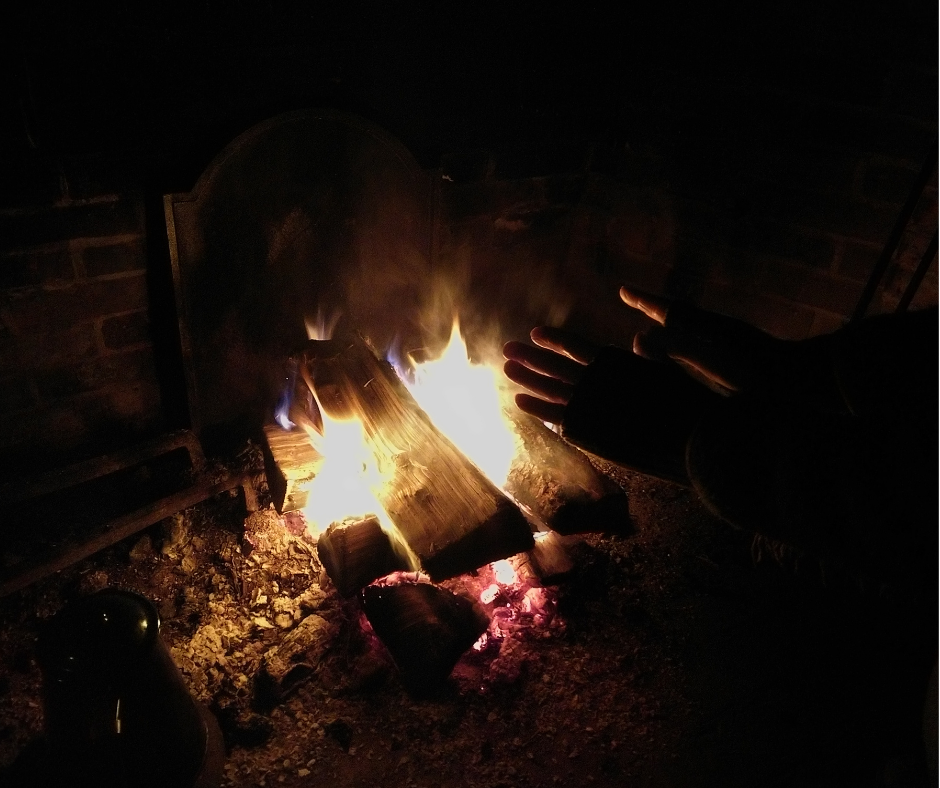
When the power went out, I wasn’t actually at home. When I did get home, the kids had the wood stove going, and had pulled out some oil lanterns and solar lights to see. Our battery back up packs had been located and put on the dining room table for anyone who needed them. We didn’t bother firing up the generator, because it’s cold outside. The food in our freezers was going to stay frozen without any issues (our freezers are actually outside), and the food in the fridge just got packed up and put into raccoon safe boxes on the porch, where it was cold enough to keep it as well as the fridge. People were reading books. I came in and sat and sewed for a while while we listened to a book on tape that I have downloaded for just such emergencies. Dinner was switched from an oven meal to a stove top meal, one that could be easily made with the gas stove (which runs without electricity). If I’d been home, I’d still have made the oven item; I have dutch ovens, and I know how to use them. Honestly, the kids do too, but they were being lazy, and that was fine.

That night, I cuddled up under warm blankets, in my bed. If it had been colder (it was really only a little below freezing), I might have gotten out the military sleep system, but I didn’t see the need. I also could have slept in the living room, where the wood stove was banked for the night, but again, it wasn’t that cold. I wore my night cap, and so even my head was warm.

Water was still running in one of our bathrooms, so we continued to use that. If it had stopped, we had bucket potties we could have pulled out to use. We had the means to heat water, both on the gas stove and on the wood stove, so we were able to wash. Camp showers are wonderful things.

So yeah… If you are in a city, there are lots of things you can do, even if you can’t have a fireplace or wood stove. If you need help learning how to prepare for such things, I’m more than happy to teach. In fact, I offered to do so for a local lady who spent 24 hours straight complaining about how horrid it was she had no electricity. I was a bit shocked, because it’s a friend who is normally fairly balanced and thoughtful… but she just lost it. She was whining about “losing all the food in her fridge,” when I privately contacted her and suggested that the gods had provided a giant outdoor fridge, just for her. I offered to help her learn how to deal with this stuff. Why? Because everyone should know how to go a few days or weeks without power. We get snow here, and other areas get hurricanes or tornadoes or tsunamis or earthquakes, or whatever it is that endangers your area. Learning to be self sufficient for the common emergencies of your place of living is not just important, it is your duty.

IMO of course.

Hagar,
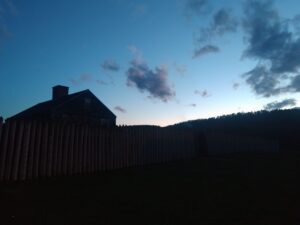
who recently spent the night in an 18th century fort on an 11*F night, by choice

At the Fort

TL;DR – I spent the weekend at an 18th century fort, and learned a bit about what I don’t know.

Hands warming over a fire.
Fire is what keeps you warm.

This past weekend, I had the opportunity to present at one of our local 18th century forts. I had a blast, and I got wonderful feedback from the people who came to visit. I was there to do a cooking demonstration, as well as to give people a bit of an idea about what it was like to live in a fort during the French and Indian War. I was set up in the “big house,” or rather the commander’s quarters, along with my partner. We arrived early on Friday afternoon, knowing we’d need to get a good fire going before the sun went down. I wouldn’t say I went into it ignorant, but I really had no idea what I was in for. I had prepared myself mentally for being cold, as the fort is not only without electricity, heat, or running water, it’s also drafty and has a standard 18th century chimney with the flue that yanks all the hot air out. Intellectually, I knew what it was going to be like, and I was more than aware that the night was going to be down to 11F. Intellect does not prepare you for reality, let me just say.

Hagar and partner, in kit
Hagar and her partner, in F&I War kit.

What did I bring with me? Well, I didn’t skimp when it came to modern underpinnings. I had on modern, good quality waffle weave long underwear, and merino wool socks. I had felt slippers that I wore while inside the house, and my modern hiking boots when outside (I don’t yet have appropriate period-accurate footwear for winter use). For at night, I enjoyed snuggling into my military sleep system. I use a British style military folding cot (like this one) which I cover with sheepskins. Over those, I lay a doubled woolen blanket, then my sleep system, and then a nice, thick woolen US Army blanket, regulation green. The temperature inside the house hovered around freezing overnight, possibly a bit below, but not enough to freeze our water jugs through. Outside, it was well below the freezing point, something I was keenly aware of when I had to take the long, brisk walk to the outhouse. I had a cloak to toss over myself, though by mid-day Saturday, I had acclimated to the temperature and didn’t need it.

I was wearing several layers of period correct kit during the day. Over my modern long underwear, I had on a wool chemise with long sleeves, a long sleeve linen dress, a very large kerchief that covered most of my upper body (it’s the black and white check thing you can see at my neck in the picture), and then my bedgown (the red “blouse” I have on). I also had on a thick woolen petticoat and a warm cotton one over top, and then my red checked apron. I enjoyed wearing my fingerless gloves to keep my hands from getting overly cold (though I did a poor job of that). On my head, I wore either my cap (see picture), or a woolen hat, depending on whether I was inside or out. We very carefully closed the kitchen off and stayed there the entire weekend. We set up our cots at night, and stashed them away in a staff-only area during the day. It’s easier to heat a single room. That house would have been impossible to keep warm. As it was, with the fire blazing all day (a totally “white man’s fire” as my partner says), we managed to keep the kitchen in the 40s. Livable, but chilly. Luckily, the fort provides the firewood for us. We went through about a half cord of wood, I’m guessing, just in the three days we were there. We didn’t skimp. Unlike our 18th century ancestors, we do not have brown fat to keep us warm on cold winter nights. My partner has almost no fat at all, and I just have the regular kind. LOL!

Read More

Best Pocket Tool (3 of 3)

Maratac ¼” Pen Driver

Tool one and modifications abandoned, I came back to this driver I had found in my initial searches but had passed over at the time because I wanted something that held more bits if possible. Perfect being the enemy of the good in mind, I purchased this and resolved to use it, and boy am I glad I did!

Admittedly, my time on this tool is still quite low, only about 3 weeks, but I’m very satisfied with it already. I wasn’t originally sold on the idea that this did not have a cap to help retain the bit that is in it and to protect whatever else is in your pocket/the pocket itself from the bit. However, I have found this hasn’t been a real issue. The magnet that retains the bit is super strong, and I have been keeping this clipped to the pocket like a knife, that keeps the tip from rubbing against pretty much everything. Carpenter jeans or pants with a mid leg pocket are even better for this.

The included bits were a Phillips #0, #1 and two flat heads; a large and small. I swapped the Phillips #1 and the small flat head for a T15 Torx security and a Phillips #2. As we know, Phillips #2 is the most used screw size in everyday life and the T15 Torx security bit is specific to me and my work tasks; I have a large number of computers that use that to secure the case side for some reason. I opted to keep the Phillips #0 because it will will work in a Phillips #1 screw in a pinch and let me get at smaller stuff. I kept the larger flat bit because I figured most Phillips needs are covered, so a small flat bit wasn’t needed as a Phillips backup, there are occasionally the huge flat head screws you come across that need a big bit, and if I decided to pry on anything with it, the bigger bit will probably be more handy.

Now, how do we make the perfect more perfecter? A number of ways of course! You didn’t think I’d be satisfied with this things how it is did you?

Read More

Best Pocket Tool (2 of 3)

The Custom Pocket Tool Kit

I hadn’t really explored this option until now so I started down the rabbit hole, and boy what a rabbit hole it is. There are innumerable videos on YouTube about what people allegedly carry in their pockets and the infinite utility they find out of random and weird tools and gadgets. Frankly, I think a lot of this is overstated, but for sure there are weird and unique little things that people have/do that help them do their specific weird/unique little thing.

After contemplation and viewing some other people’s EDC for ideas, I determined that a compact driver of some sort with a variety of bits and an extension could fit in a small pouch or case and I could easily fit a couple of other nice to haves in that form factor. And while the videos were sometimes questionable, it did help me narrow down specific tools that I wanted. I settled on the following for the kit:

Topeak Mini Rachet/Driver Kit

  • This is a nice little kit packed with tools in a small form factor make for biking. The standard ¼” bits can be used in the driver as either a ratchet at the ratcheting end, or on the handle end as a standard screwdriver. It included a nice assortment of bits and a small extension. I swapped around the ¼” bits to have a selection of 11 bits I wanted and ditched the included tire tool.

Klein Tools 7 in 1 Extension/Nut Driver Set

  • A wonderful tool that add not only a long ¼’ hex extension that is compatible with anything that accepts standard ¼” bits, but ingeniously has three nut drivers that service six different nut sizes that slip over the extension for storage. Quite the “force multiplier”!

Knipex Cobra XS

  • These 4” pliers are all the rage for the EDC crowd for some reason. I don’t quite get it myself, but figured, what the hell, I’ve got room in the kit to throw those in and being small and flat they don’t really add any bulk.

EDC Organizer/Pouch

  • A cheapo pouch to hold everything together.

All assembled, this was a pretty handy kit that was small but with decently big capabilities. It was however a little more bulky than I was hoping for and because of this, I couldn’t quite figure out what to do with it/where to put it.

Read More

Best Pocket Tool (1 of 3)

TL;DR A verbose and not especially eloquent but assuredly boring read about my iterative process to find the best pocket tool for EDC. There’s a few pics and lots of links too. 7118 words.

(Part 1: 3000 Words)

I have been on an eternal quest to find the best EDC tool(s) to supplement the typical knife, flashlight, pen, etcetera that fit my specific requirements. For our purposes here, EDC means what is carried on my person and in my pockets, on my belt, in my boot etc. Effectively, it is affixed to me in some way. Supplementing the pocket knife with crap I keep in my bag is very easy, supplementing it with only what’s in my pockets is tough! This search also must be considerate of my carry choices and methods with carry being either strong side or appendix, with speed loaders or a magazine in the pocket. So pocket space is a premium!

Requirement wise, I’m an IT guy, well THE IT guy, who works in a manufacturing company. While I do make my way into the shop when needed, I’m primarily in the office, and I don’t find myself doing as much field surgery these days in the office or shop. That said, it is quite aggravating to find myself at the furthest end of the building from my office, only to discover I need a screwdriver or Torx driver of some specific size and that no one in the machine shop I work in seems to possess such a tool but me. I also occasionally find myself doing some minor spelunking in the walls and ceilings to pull and mend cables, and there is the infrequent surface mount box or receptacle I have to open up. A screwdriver is also of course handy for rack mounted items. Considerations for this EDC outside of work are moot. If I’m doing real work on something that requires real tools, I’m not going to waste time and aggravate myself with pocket tools. I have sets of real tools for this purpose, and if it can break and fuck up my day, then I won’t leave home without the means to repair whatever “it” is. For me, the EDC that fits work requirements is sufficient for play requirements.

The conclusion is that in addition to the knife, flashlight, pen, etcetera, I would like to have a couple of other tools in my pocket with me all the time to save myself a long walk back to my office or from doing a tool scavenger hunt. The screwdriver is the most used tool after the actual knife, or maybe even before, and so my initial requirements developed as follows:

  1. Must have at least a Phillips screwdriver. Multiple sizes are better.

  2. Must have at least one flat head screwdriver. Multiple sizes are a bonus.

  3. Must fit in my pocket, be compact, not be obstructive, and work with gun carry options.

  4. Any additional tools, farkles, and greebles I can fit in the required form factor is a bonus.

These requirements in mind, I came to the following ways to meet these requirements. A bit of testing and experimenting with each category would eventually yield what I have settled on today.

  • A multi-tool/Leatherman/Swiss Army Knife of some sort. One thing to do the knifing and tooling in one package.

  • A custom made kit built of the tools I want/need to fit the size I want.

  • A purpose built tool to meet my requirements.

Read More

Fire, the making of it.


FIRE!

Fire is one of those things that it’s important to know about in emergency situations. You want to know how to get it started, how to keep it going, how to bank it overnight, and how to use it to do various things. You also need to know more than one way to do each of those things.

Making fire is probably the one that stumps most people. There’s this tendency to fall back on “oh, I’ll use a lighter”. I’m guilty of it myself, to a certain extent, and I almost always have a lighter on me somewhere. But lighters run out of fuel, and they get wet, and they can get lost. So what happens then?

Knowing how to make and use char cloth is one path to fire. Having or knowing how to find dry tinder, even in went conditions is another. There’s also flint and steel. But what do you do once you have those ingredients?


This is a picture of the cheap striker I got through an online cheap-ass place called Temu. I think I paid $1.98 for it. It has a ferro rod, a striker, and a blow tube, all in a neat little kit with a neck strap.

Did you know that when most ferro rods arrive, they have a coating on them that you need to work through before you can get a decent spark? Something to know. Something I did NOT know until this afternoon. I learned.

Do you know how to get a spark from flint and steel, or ferro rod and striker? Do you know how to get the spark to be where you want it? It’s not nearly so easy as one might think, and it requires a bit of practice in optimal circumstances before you get into an emergency.

Luckily, it’s not expensive to practice. You can make char cloth out of any old cotton (denim jeans, old tee shirts, kids’ spit up cloths, you name it) or linen. Here’s a good video on making it, with some wonderful side info. And another website with good pics.

Okay, so now you have char cloth. What about tinder? Technically you don’t need both (char cloth IS tinder after all), but knowing how to find or make tinder is as important as knowing how to make char cloth. After all, if you have the means to make char cloth, but no fire, then what do you do? 🙂

Tinder can be anything that’s very small and very flammable. Tinder is smaller than the tiny sticks you use to get a fire built up. It’s fine and light and fluffy. As an example, even in wet climates, if you can find a cedar tree, you can scrape the underside of the bark for a feathery soft stuff that makes great tinder.

Tinder’s job is to catch your spark. That’s it. Now you have a spark, and it’s glowing, and you need to add more fuel to it. Larger pieces of tinder, such as very fine branches from pine trees, can be added. You can make feather sticks (thin, dry sticks that you ‘feather out’ with a sharp knife or axe) to help you make the spark into more. You blow on the ember in the fluff of tinder, and hopefully, the ember becomes smoke, and the smoke becomes fire. Take your tiny fire and add it to the previously laid base of your fire.

There are many ways to build that base, such as log cabin and tipi style. Practice, so you know what works best for you, in which conditions. I tend to use a log cabin style when building fires in dry weather, but I find tipi works better when it’s wet. Awa taught me how to use a military poncho as a cover while building a fire in the rain.

Being able to get your spark to the right spot differs depending on what method you’re using to make a spark. If you’re using a ferro rod, most people’s instinct is to hold the rod over the tinder, then push the scraper down it. Unfortunately, this can cause your spark to go wild. A better way is to hold the scraper in place, and pull the rod up along it. Give both a try, and see what happens. Practice!

When you’re using flint and steel, you want your tinder in your hand, and you spark toward that. And that takes a LOT of practice, and you’ll probably skin your knuckles a number of times in the process of learning. I’ve been doing flint and steel work for about five years, and I’m still terrible at it. I’m passably good with a ferro rod, but I can’t possibly know that I’ll have one on hand, so… I practice with flint and steel.

So, what if you don’t have a ferro rod, or flint and steel, or a lighter? It’s time to use friction. But friction is the least easy method for making fire, even though it can be effective. This is another one that really requires you to go and do it, practice it, and use it on a regular basis in order to perfect it. And all that practice must be done before the emergency, because when you’re in the midst of it, you won’t have time to be putzing around with learning new things.

This site discusses several methods of making fire using friction: bow drill, pump drill, hand drill, and fire plough. And then there’s this great article on Instructables, which adds more to the list: the two man friction drill, and a fire piston, in addition to instructions on the ones at the first site.

So… go add to your skill set! 🙂 Have fun in the process, and impress your friends. Stay warm, stay dry, and learn.