
Machining is the process of removing material to revile the part that was living inside the raw material.
We use two different forms of material, cast/forge and “stock”. A cast item is an item that is formed to a particular shape that is further refined by the machining process. Stock is a standard shape that we then refine by the machining process.
Consider attempting to make an engine. The engine has many features within that have to be precisely machined, it also has many parts where “close counts” and other areas where it doesn’t matter at all. Plus, there are many voids. Places with no material.
Anything place that is void must have material removed. When machining an 80% lower, you must first drill some holes in the correct locations, then you have to remove all the material in the fire control pocket. As a forging, that pocket is filled with material that must be removed.
If it was a casting, then the rough outline of that pocket would be there. You would then use machining to remove the remainder to bring the pocket to dimension.
Same with an engine, same with many things. There are voids where we do not want any material. Using a casting allows for complex shapes and pre-placed voids.
So I’m going to talk about a chuck back.
Lathe chucks are precision machines. They are designed to hold material that is moved under a cutting tool. In order for a chuck to work to its potential, it should be mounted such that the center of the chuck is inline with the center of the lathe spindle.
Seems simple. It isn’t. Every lathe is different. Often it is just a few 10,000s of an inch of difference, but they are different.
In addition, different models of different lathes have different mounting methods.
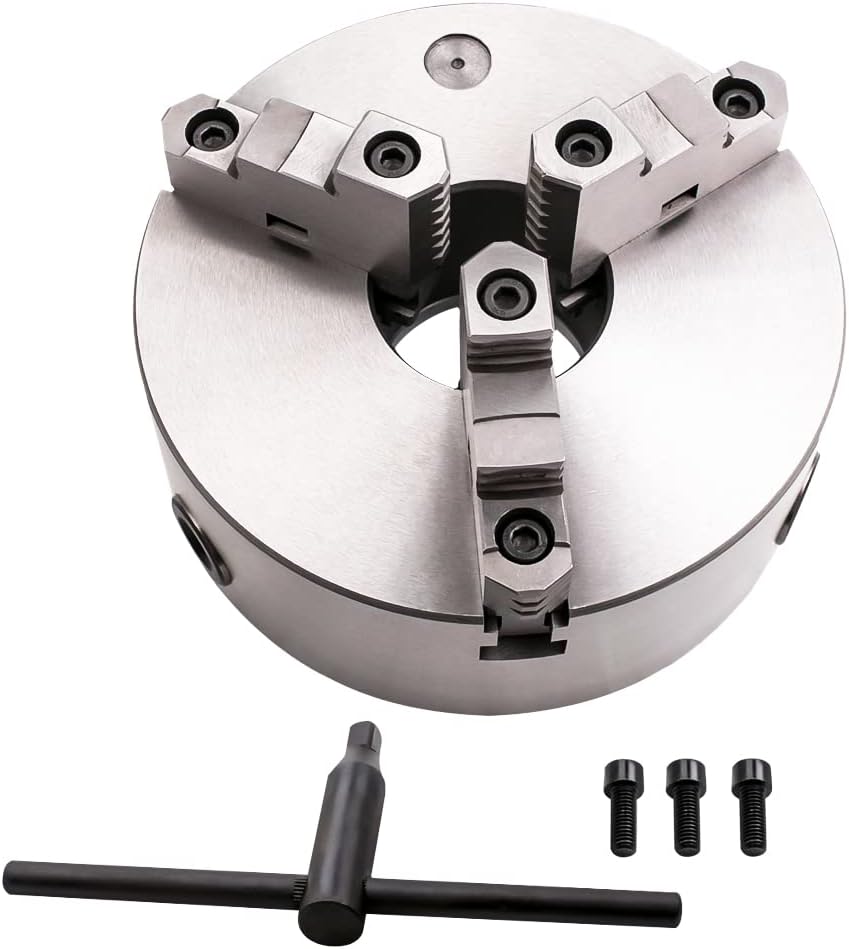
This is a cheap three jaw chuck from Amazon. $135. It is around 8in in diameter (200 mm).
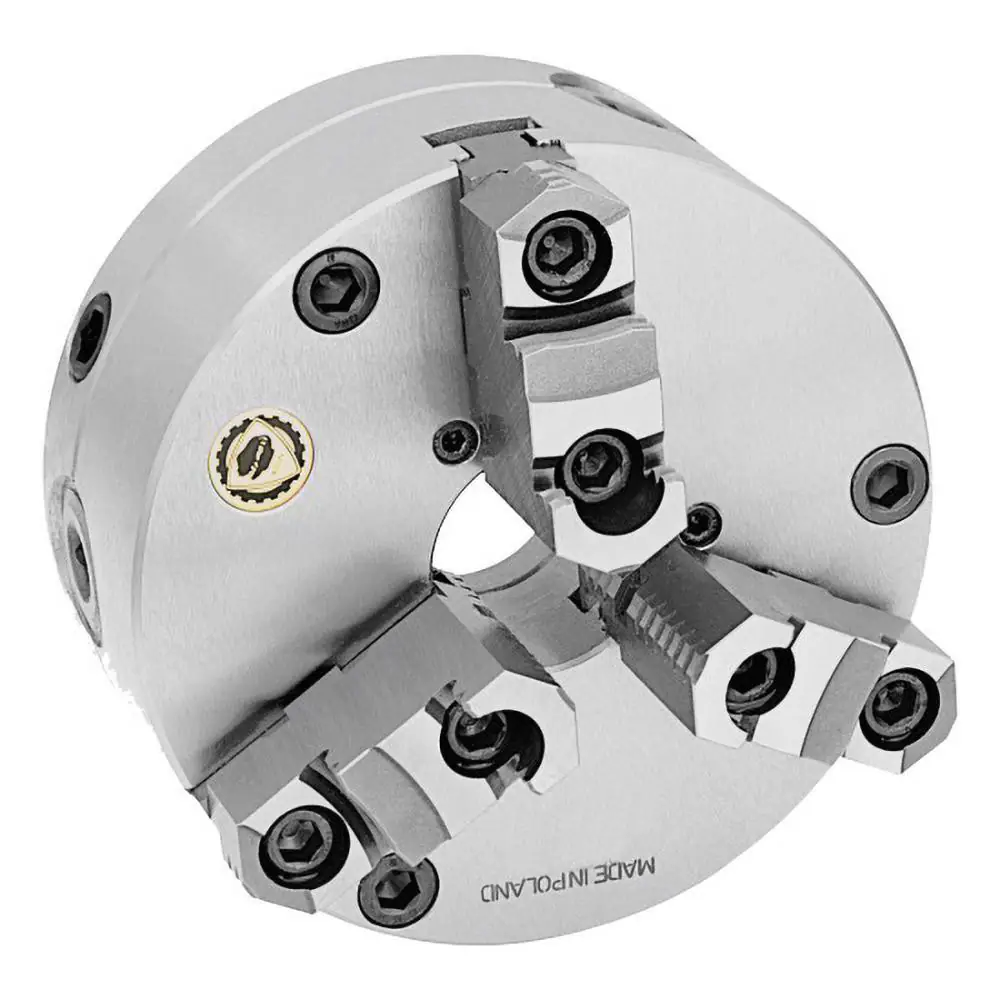
This three jaw chuck costs $1237.68 from MSC Direct. Yes, there is a difference. Yes, I can tell the difference. Yes, I’m thrilled my Southbend Lathe came with an 8″ Bison 3 Jaw Chuck.
But here’s the thing, those chucks do not directly attach to any lathe. You need a backplate.
A backplate has a registration boss on the front and the proper attachment style on the back for your lathe.
Here is a $180 backplate to adapt an 8″ chuck to a D1-6 lathe.
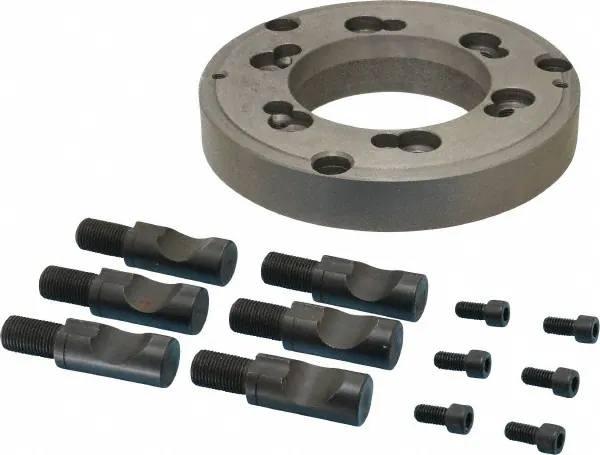
This is the back of the backplate, the part that would attach to the lathe. The taper in the center will align this perfectly with the spindle. The 6 studs with the half moon cut in them go into holes in the spindle mounting plate. You can then pull those studs tight, locking the backplate to the spindle nose.
When I say “perfectly” I mean just that. Those tapers are such that the plate will always position itself in the same place, each time. A Perfectionist will mark the backplate so that the same stud goes into the same hole each time the chuck is mounted.
This brings us to Dura-Bar or Cast Iron. A stable material for backplates is cast iron. Dura-Bar is a cast iron like material that is extruded. You can get it in different lengths and different diameters. You can get it in rounds and in flats. It is a good material when you want cast iron.
If I were to make a new backplate for an 8″ lathe, I would start with a piece of Dura-Bar that is nominally 8″ in diameter and 2.5 inches long.
To mount this, I would drill and tap a hole near the center, as big as I had a tap for. I would then make a stub arbor that is threaded the same. The plate would be threaded on to this stub arbor mounted in a three jaw chuck.
The goal of this is to create a face that is flat and perpendicular to the center hole.
To achieve this, I have to move a tool across the face of the disk, removing material. The speed at which the material moves under the cutting point is the “speed”.
For cast iron, that is 410 ft/min expressed as “surface feet per minute” or “SFM”.
Dura-Bar has a range of 400-2000 SFM, depending on required tool life. The slower it moves, the longer the tool will last.
My lathe has the following speeds: 940, 628, 418, 270, 135, 90, 60 and 40 RPM.
Assume that I’ve set the speed of my lathe to 940 RPM. That means the outside edge of an 8-inch disk is moving at 1900 SFM.
This is too fast for cast iron, acceptable for Dura-Bar. The results, though, are little iron chips flying up from the cutting tool at temperatures around 300°C or around 572°F. When those chips land on bare skin, they leave little burns. The chips fly up to 3 ft from the cutting point.
OUCH!
What’s worse, is that the controls for the lathe are in that waterfall of blue chips. Every cut ends with some pain. I ended up with a dozen or so spot burns on the back of my hands and on my forearms.
So it’s done? Right.
I had finished the backplate to the point that I had mounted the collet chuck found that it worked, then remounted the backplate in the 3-jaw, so I could remove the excess material and make it “pretty”.
At which point I was called to dinner and left the next morning for my mom’s wake.
When I returned, it was too late to go finish. But, since I was away from the shop, I did the research I should have done beforehand.
That research was speeds and feeds.
So we know the speed should be around 400sfm for long-lasting tools. The feed rate is 0.004 to 0.020, depending on surface finish. And the depth of cut for roughing is 0.100-0.175 and finish of 0.010-0.050
My lathe is a 1HP lathe, it is more than capable of doing 0.005 at 0.125 in most metals. Unfortunately, it is down rated to 2/3HP because of the fake 3-phase. It can’t do it at 940 RPM.
Here’s the stupid in all of this, I should have been going slower with slightly deeper depth of cut. I was going to fast, 0.050 depth of cut and 0.007 IPR.
That high speed was throwing the chips.
When I got home, I slowed it way down. Turn at 270 RPM, which gives me between 212 SFM at 3 inches and 353 SFM.
Do you know what happened? Instead of chips flying 2 to 3 feet, there was a waterfall no more than 3 inches from the cutting point.
After got everything done, the collet chuck is running at 0.0002 TIR, or less. That is the best I can measure. I’ll test if that is repeatable today.
I brought the chuck and backplate inside to treat it with LPS-3.
I’m happy this is done. Next step? Turning some cutter/gear axles.


I started with a disk 5.5in in diameter, 2.25in thick. This weighed around 16 pounds. The final product is 2.0in thick, 5in at it’s widest, 3 inch registration boss for the spindle nose, 2.150 by 0.5 boss for chuck registration and indicating, through hole of 1 7/8 threaded to 8 TPI, with a registration of 2.25(?). Total weight, around 2.5 pounds.
The rest of that was turned into chips.
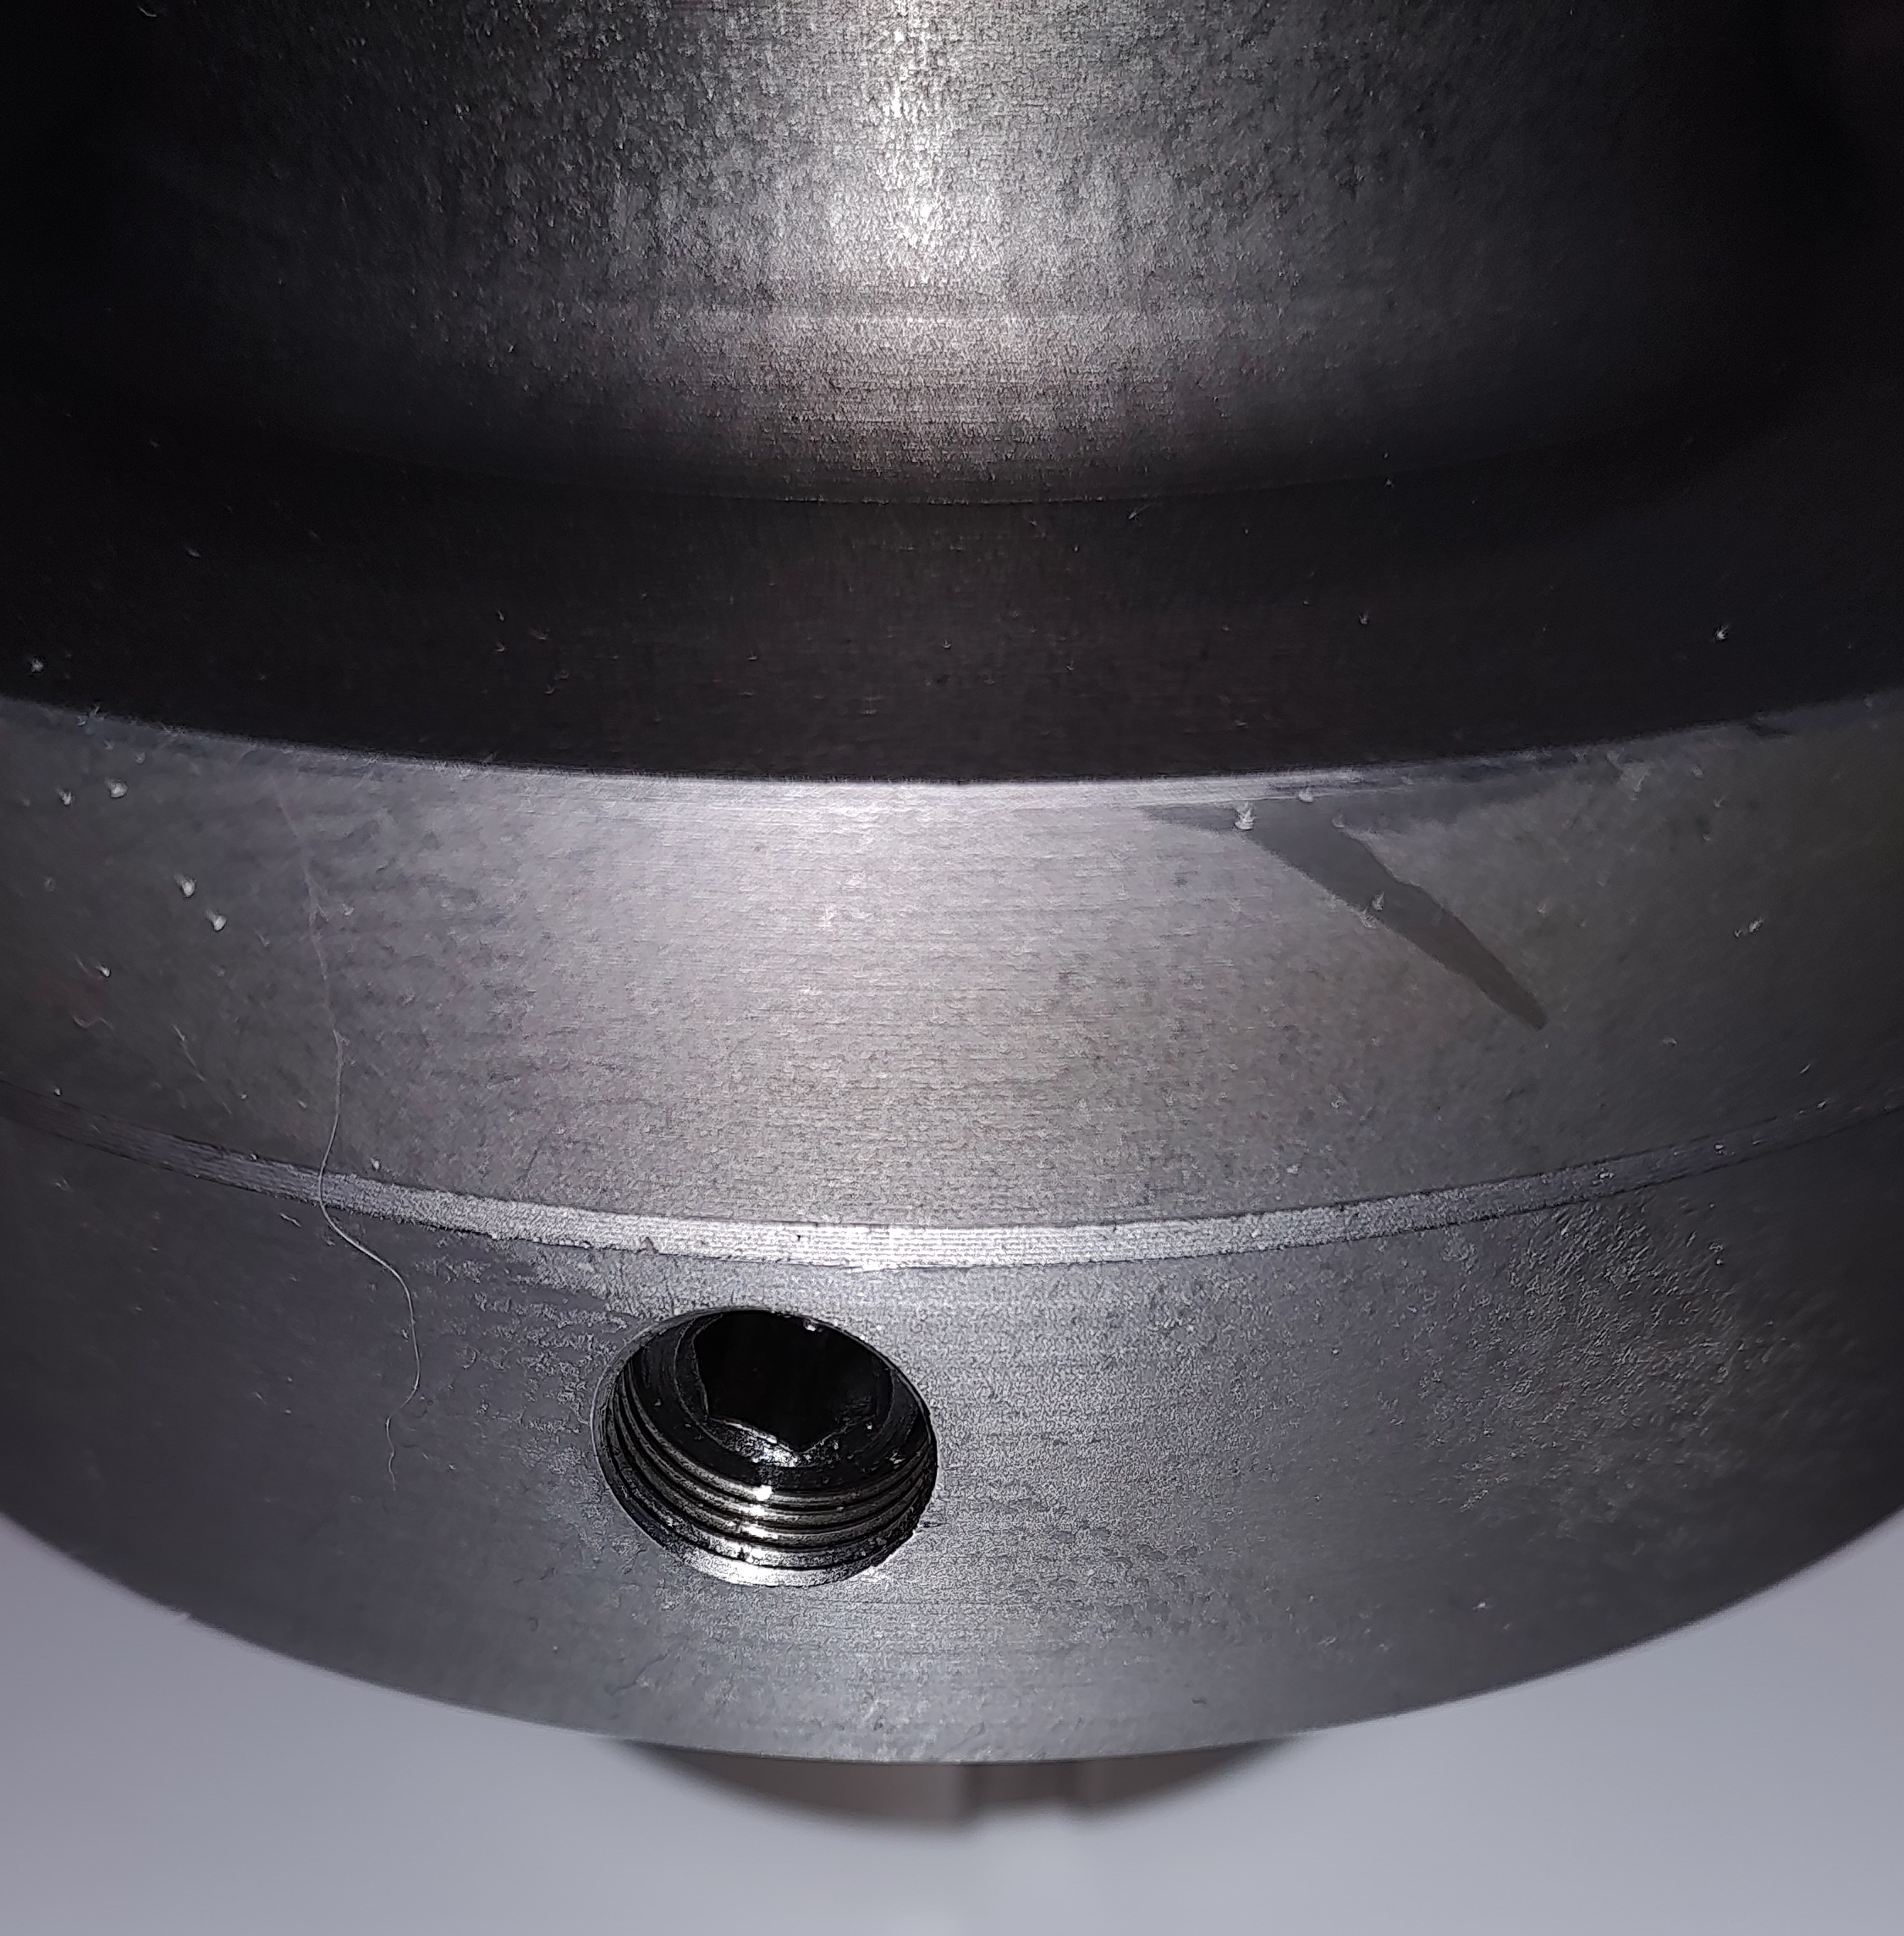
Finally, there are three holes drilled and tapped for 8 mm x 1.25. I power tapped them. I’ve never had a tapping operation go so smoothly.
What is your advice to someone who wants to start learning machining? It seems a huge investment to just go out and buy a lathe and saw and start trying to build stuff blind. There is a local community college that offers a certification in machining, but it puts out master machinists and is 16 months, 8 hours a day, five days a week, and I can’t do that time commitment.