
(2100 words)
This is the second most satisfying hobby I’ve had. The first being firearms.
My first experience was watching a retired machinist running a shaper at the Smithsonian. It was being run from a line shaft.
Watching that cutter push its way through a hunk of steel, leaving a little curl of metal behind and a smooth surface, fascinated me. I started looking into getting some sort of machine tools while be broke as …
To that end, I started looking into David Gingery’s Build Your Own Metal Working Shop from Scrap
This is a series of books that take you through building a “complete” metal working shop starting with almost nothing. He starts by having you create a foundry. After creating a foundry, learning to make patterns and cast aluminum, you make the castings for a metal lathe. Once you have a lathe, you then make a shaper, then a horizontal milling machine, a drill press, and then some accessories.
This sounded like about what I could afford. I had the wood working tools to make the patterns, it was only a matter of making castings and from those casting, real machines.
I made parts of the shaper, parts of the lathe, most of the dividing head, and never completed any of them. For reasons.
It turns out that pattern making is hard. Molding is difficult, casting is not easy, and machining all those parts is a little a pain.
In the process, I did learn a little bit.
At the same time, I was watching YouTube videos, attempting to learn something useful.
Then I got lucky. I had a new job. I had some cash in hand. I was talking to the gentleman who was selling cool patriotic stuff. He was selling expanding batons. I looked at those and thought, “I could make those”. With that, I explained that I was about to purchase a lathe and asked if he would be willing to buy batons if I made them.
“I have an old SouthBend Lathe, if you are interested.”
I went to look. He had the lathe, he had tooling for it, it was oily (a good sign), no real sign of rust. And he had a Bridgeport Mill. And a horizontal bandsaw.
It was too good of a deal to pass up. I purchased it all for $1750, delivered. It is important to understand what a deal this was. Three lathe chucks, $1000 each. A mill vise, $700. The machines themselves. This was a freaking win fall.
This is the absolute best way to start. Find somebody who is selling for way below cost and luck out. You have the three machines you will want in your shop.
Buying New
The Lathe
The first machine to get is a lathe. The second machine is a hack saw. The question becomes, which lathe?
When I was looking to purchase my first lathe, a machinist friend told me to buy a lathe with the biggest through hole I could afford.
What does that mean?
So this opens are discussion. In machining, everything is about how ridged the setup is, and how precise the machine.
The more a machine weighs, the more ridged it will be. A modern bench top lathe with a stand will weigh around 600 lbs. My 13×5 runs about 1500 pounds, without a chuck or tool post or any “extras”. The extras on my lathe are things like the taper attachment and the micrometer stop.
So you’ve bought a lathe. It either came with a tool post or you paid extra for a tool post holder and some toolholders. You have some tooling. Buying one of the cheaper sets of insert tooling is an OK way to start. Remember, ridged helps, lots.
You will not be taking the same sorts of cuts with a 1/4 inch shank tool as you will with a 3/4 inch tool. My lathe uses a BXA sized toolholder and tool post. That will naturally take 5/8 inch shank sizes. I’ve milled some 3/4 tools down to fit.
I will be making some toolholders in the near future. When I do, I will be making them so that they can hold 3/4″ tools.
You’ve read the instructions, you’ve put a piece of round bar in the chuck. You’ve mounted a tool in a toolholder. You’ve put everything in place. You turn on the lathe and make your first cut.
That cut should be a light facing cut. It’s tradition.
You touch off and turn the radius down a little bit to make a smooth surface. Congratulations. You have now accomplished every single thing you can with your new lathe, with the tools you have.
Metrology
Metrology is the science of measurement. If you can’t measure it, you can’t know what “it” is.
If I tell you I need a pin that has a 0.25 diameter, a head diameter of 0.37. The head having a length of 0.25 and the length of the pin, under the head of 1.00 you know what I want. You know what the tolerances are. Since I’ve not stated them, the tolerances are +/- 0.005
To make that pin, you need to be able to measure your progress in making it. If you pick up a piece of round steel that says it is 3/8″ in diameter, you do not know if it is really 0.37 +/- 0.005.
For example, I purchased a piece of round cast iron the other day. I ordered 5 1/2 inch diameter, 8.75 inches long. The length of bar that I received measured 9 1/8 long when I received it, at its longest. It was 8 5/8 at its shortest. That is a given.
The diameter was 5.625 +/- 0.05 and NOT round, it was nearly round. It was actually more of an oval shape, at no place was it less than 5.550 inches in diameter. This is on purpose. It allows me to turn it to as close to 5.5 inches as I wish.
The first metrology tool I used was a machinist scale. This is a six-inch piece of steel. It sells for $42 on Amazon. This is a precision tool. You can use this scale accurately to about a 1/100 of an inch if you get that scale, or 1/64 if you buy the “normal” style.
This I used to decide where I was going to cut a 2.75 disk off the rod that I purchased. This is where that hacksaw comes into play. Clamp that rod to something stable, now mark the rod and start cutting. Get back to me next week when you’ve cut your way through.
It took my bandsaw about 10 minutes to cut through. Mind you, that was with a 32 TPI blade. I have a fine blade on the bandsaw because I cut thin stuff as well as thick stuff. It doesn’t bother me that it takes the machine, running on its own, 10 minutes to cut through a piece of steel.
In a production shop, I would be using an 8 TPI blade, which would cut much faster.
I now have a disk that is approximately 2 3/4 inches long. I don’t know, I don’t care.
This disk is mounted in my lathe. I then use a left hand cutting tool to face the disk. It takes a few passes because the end I’m facing is jagged as heck. Once the facing is complete, I can measure the thickness of the disk. I still don’t care.
The next cut is a hole through the disk that is 1.12 inches in diameter. Using a drill chuck in the tail stock I spot drill, this puts a small divot to guide the drill when I start drilling.
Switching to a jobber drill, I poked a 3/8 hole through the disk. Depending on the size of your lathe you might need to use a smaller drill first, or if you have a larger lathe, you can use a larger drill. This is to provide clearance for the web of a larger drill.
Using a taper shank drill, I drilled a 7/8 inch hole. If I didn’t have a 7/8 inch drill, I would have gone to my largest jobber drill, 1/2 inch. Then I would have to use a boring bar to enlarge the hole.
Regardless, I use a boring bar to clean up the hole. This will center the hole exactly and make it round. Drill bits make holes that are oversized and might not be round (enough). The boring bar makes the hole round and centered.
At this point, I need to take my first “precession” measurement. I use a set of dial calibers to measure the diameter of the hole. A pair of 6 inch calibers that measures to 1/1000 of an inch is a required tool.
I now have an idea of how big the hole is. With this information, I can set the dials of the cross slide to zero. When I dial in a cut, I know how much bigger that hole will become.
Making a few cuts, I get to around 0.875. I take measurements as I work my way there and compare it to my dials. Once I reach 7/8 of an inch, I can switch from the small boring bar to the 3/4 inch boring bar.
This continues until the hole is 1.12. Using the calibers is good enough for this measurement.
The next cut is to enlarge the hole to 1.74-1.765, 1.5 inches deep. To put it differently, 1.75 +0.015/-0.010.
This is still within the precision of the calibers. Dial calibers can measure internal distances, external distances, and depth. They are very useful.
The final dimension of the hole is 2.100 +0.001/-0.000 for a depth of 0.38. This is much more precise than you can accurately measure with calibers.
Which means I need my next tools. A 2-3 inch micrometer, and telescoping gauges. The telescoping gauges allow me to copy the interior diameter of a hole to the gauge. I can then measure the gauge with my micrometer.
A set of Starrett outside micrometer’s for 0–3 inches with 0.0001 accuracy is only $857. A set of Starrett telescoping gages for 5/16″ to 2 1/8 is cheap at $165.
Having made the hole with its three different diameters, with three different tolerances, it is time to cut the threads with a thread boring bar.
Since it is almost impossible to measure internal thread sizes, we use gages instead. Before I started this project, I made a gage which had the spindle registration boss at one end and a 1 7/8 x 8 TPI thread on the other. Using the gage, I cut the threads until the gage fits.
The back is now turned down to 3.0 in diameter and 0.75 deep, with a nice radius in the intersection. This is measured with the calibers.
There is one thing that is still missing, that is a dial indicator. A Starrett dial indicator with 1 inch of travel and 0.001 accuracy is around $226. With a holder, this can be used to measure the travel of your lathe cross saddle. This allows you to accurately measure the travel of the tool, and to know where to stop.
I’ve used this method to cut lengths accurately to 0.001 many times.
Starting off? Get a good set of dial calibers, a 0-1 inch micrometer, a good dial indicator. Get a Noga indicator holder.
Good tools are worth the price. I’ve had some Starrett Metrology tools in my wish list for years.
Mitutoyo is currently the go-to brand. Starrett before being sold is known to be as good as Mitutoyo. Before they started to outsource some of their tools, Starrett was “the best”.
Older Brown and Sharp are good.
Do not buy cheap digital tools. Almost all of them have battery issues. The Mitutoyo and Starrett digital tools have auto off and near zero power drain when off.
Brief Tooling
For $200 you can get a set of 5/8″ lathe turning tools. This includes a boring bar and 8 other tools. I wish they had a set like this when I started. This includes the inserts for each of those tools.
Now compare that to the following:
Kennametal SVJBR102, 5/8 x 5/8 turning tool. $130 with no inserts. It uses VB Inserts. Inserts run $7 to $148 EACH. Figure around $20 each as a “reasonable” price.
Assuming you spend $3,000 for a lathe, you can expect to spend at least another $2k for your good metrology tools, tooling, toolholders, live centers, drill chucks, and all the rest.
An Aloris toolholder, of the simplest form, will run around $85 each. This is a chuck of steel that is 3x2x1.75 with a slot, dovetail, and four screws. Cheap knockoffs will run about $25 each. 1018 steel 3×1.25 is $95 for 2 ft which gives us about $8 per tool, not counting the time spent machining them.
One of the things to remember is that you get what you pay for. You can pay once and be happy, or you can pay multiple times and be unhappy.
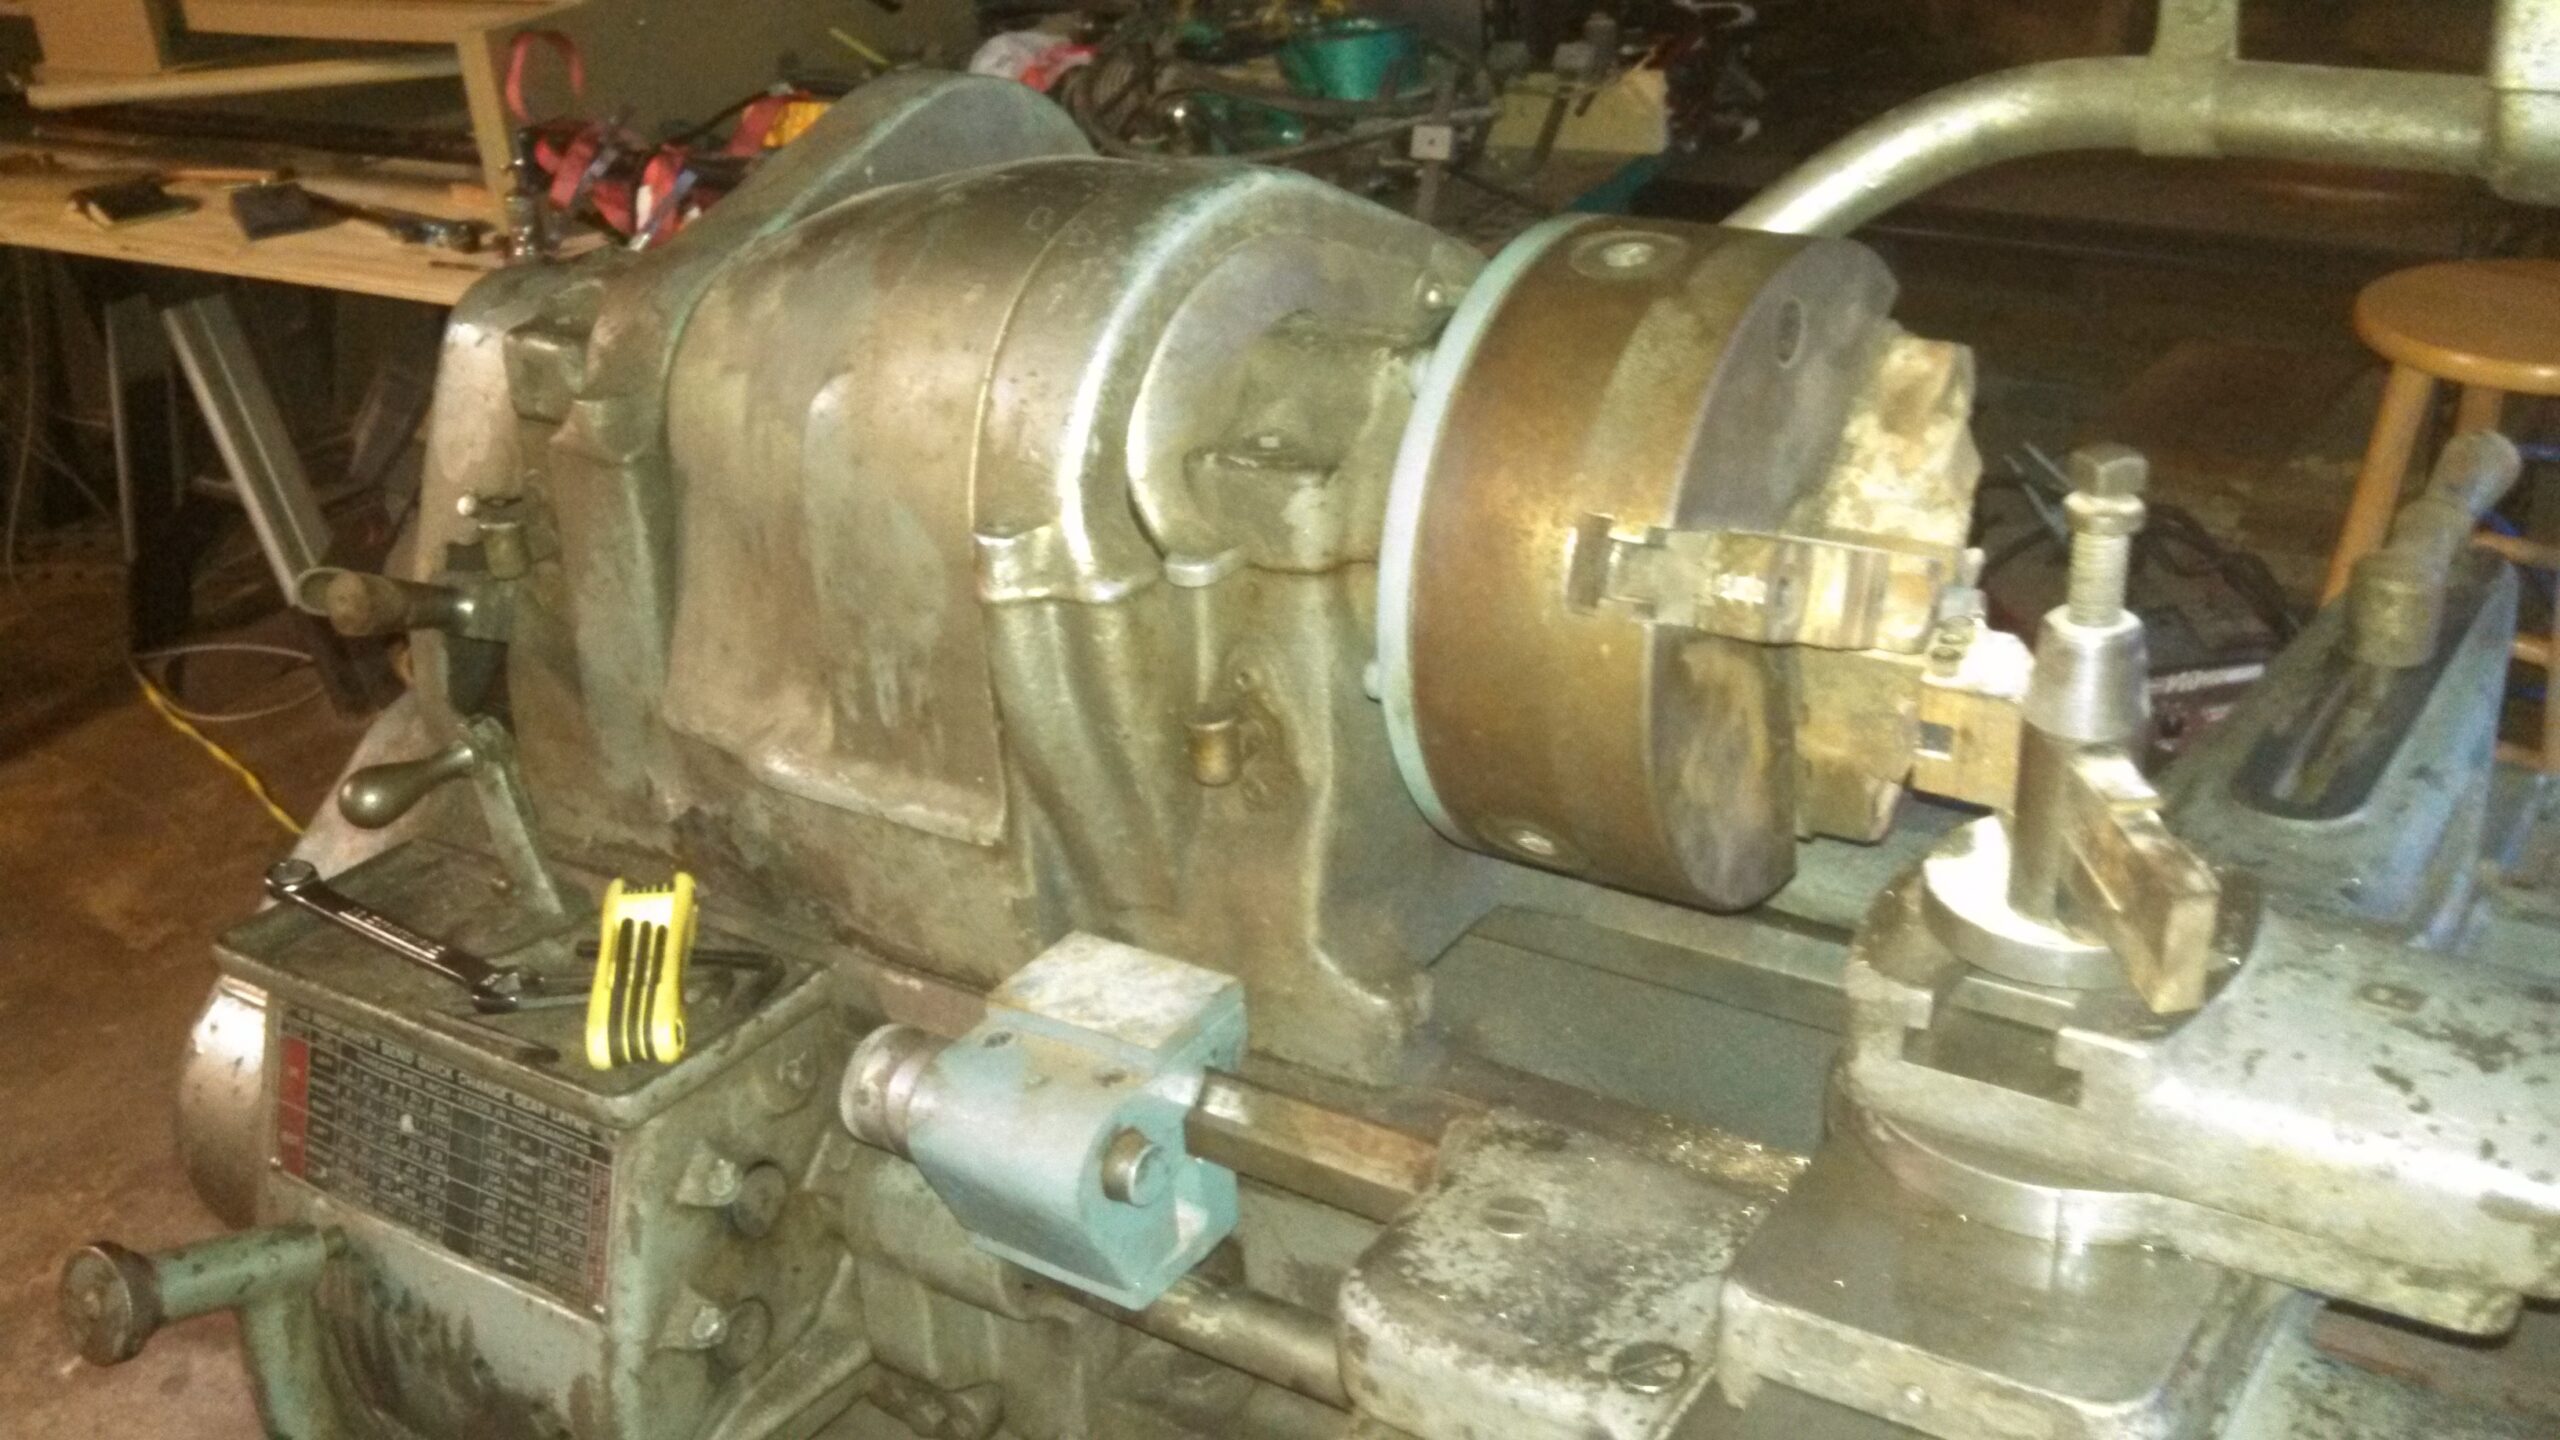
What it looked like when it arrived, 11 years ago


The shop I learned in was “owned” by my school’s physics department, for use by students and faculty. Most of the machines were World War II vintage, some of which were updated with things like digital position indicators. I got real fond of the Bridgeport mills there.
My Bridgeport came with an excellent DRO. Unfortunately, one of the axes was dead, and I couldn’t find replacement parts nor was I willing to figure out what was wrong with it. I ended up buying a new 2 axes DRO with mag scales. I’ve been happy with that DRO.
.
Every once in a while I think about putting a DRO on the lathe, then I spend the money on guns or tools.
Great article!
I was amazed to read that South Bend parts are still available — the company still exists though it no longer makes lathes.
I got my lathe as a bargain too, $500 for an 18 inch lathe. Rough guess is that the complete machine weighs about a ton. I’ve certainly spent at least as much on upgrades, from a chip & coolant pan underneath to a VFD to feed the 3-phase motor. I still wonder what accuracy it’s good for, given my own lack of skill.
Your lathe is likely to be more accurate than you are. There were two issues with my lathe when I got it. One, somebody had put the taper attachment together wrong, totally disabling it. The other was that the cross feed screw and nut were clapped out. I made a replacement screw and purchased a new nut for the lathe. That took the backlash from 0.125 or more to around 0.010 or less.
.
To test the accuracy of your lathe, you set up to turn between centers. Using only a micrometer, adjust the tail stock so that you are not cutting a taper. Once that is done, make a very light cut the entire length of the test bar. Make sure that you do enough spring cuts and that your tool is sharp enough to cut very light passes. I use a shearing tool for this.
.
Now you can measure the diameter of the test bar from end to end, checking to see if there are any changes in diameter. This will give you a good idea of how good your ways are.
.
Next, to test your cross slide ways, face a piece that is as large as you can spin, safely. Again, use light cuts to finish your clean-up. You want to use very low feed rates, you are looking for the best finish possible.
.
Clean your surface plate and ink it up. Now take that face and gently mark/ink it from the surface plate. The pattern you get will tell you how perpendicular your cross slide is to the spindle at the location you faced. If the face cut is dished, your cross slide is angled towards the spindle, if the face is convex, it is angled away from the spindle, if you have “full” coverage, then your cross slide is as perpendicular as you need.
Thanks, great suggestions. I don’t have a surface plate, though. But I do have a 6 foot long machinist scale (Starrett, I think), which should double pretty well as a high grade straight edge.
Thanks for this!
Good stuff! I’m a hobby machinist with a hobby-sized Taig 2019CR-ER mill that’s converted to CNC and running Linux CNC. I’d like to expand, but don’t have the space.
BTW, the word you should be looking for when talking about the stiffness of the equipment is “rigid,” not “ridged” (which would mean it has grooves or raised lines).
Although often a piece is ridged to make it more rigid. 🙂